.png?width=500&height=131&name=horiz-onwhite-noslogan%20(1).png)
Your EVA Plus device is managed through the MaaS360 management app.
MaaS360 is being replaced by an in-house solution. Unfortunately, the migration process requires manual setup.
Please follow the following steps to avoid data loss.
Step 1
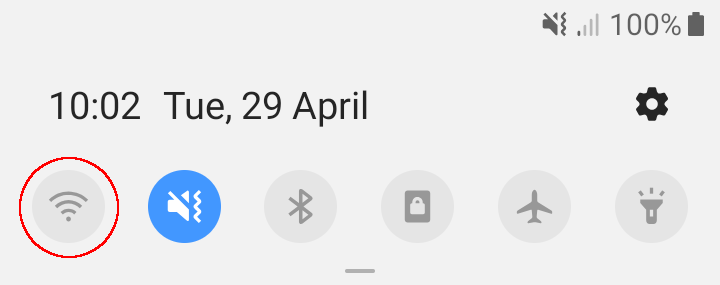
Please ensure the device is connected to Wi-Fi.
To open the Wi-Fi menu, swipe down from the top of the screen and long press the icon shown below.
Step 2
Please ensure the EVA app is up to date.
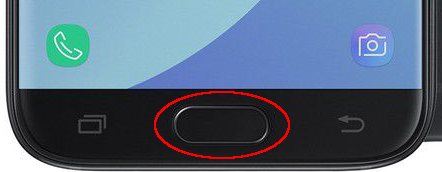
To verify this, open the home screen by pressing the button shown below.
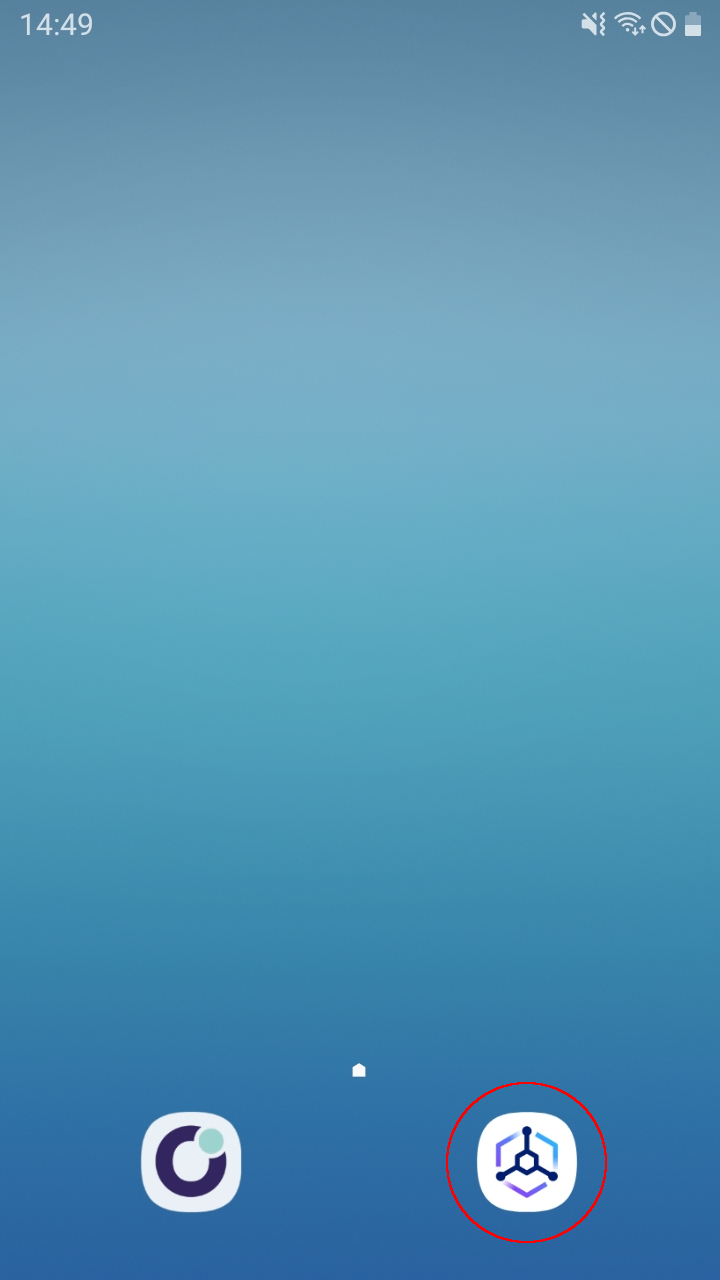
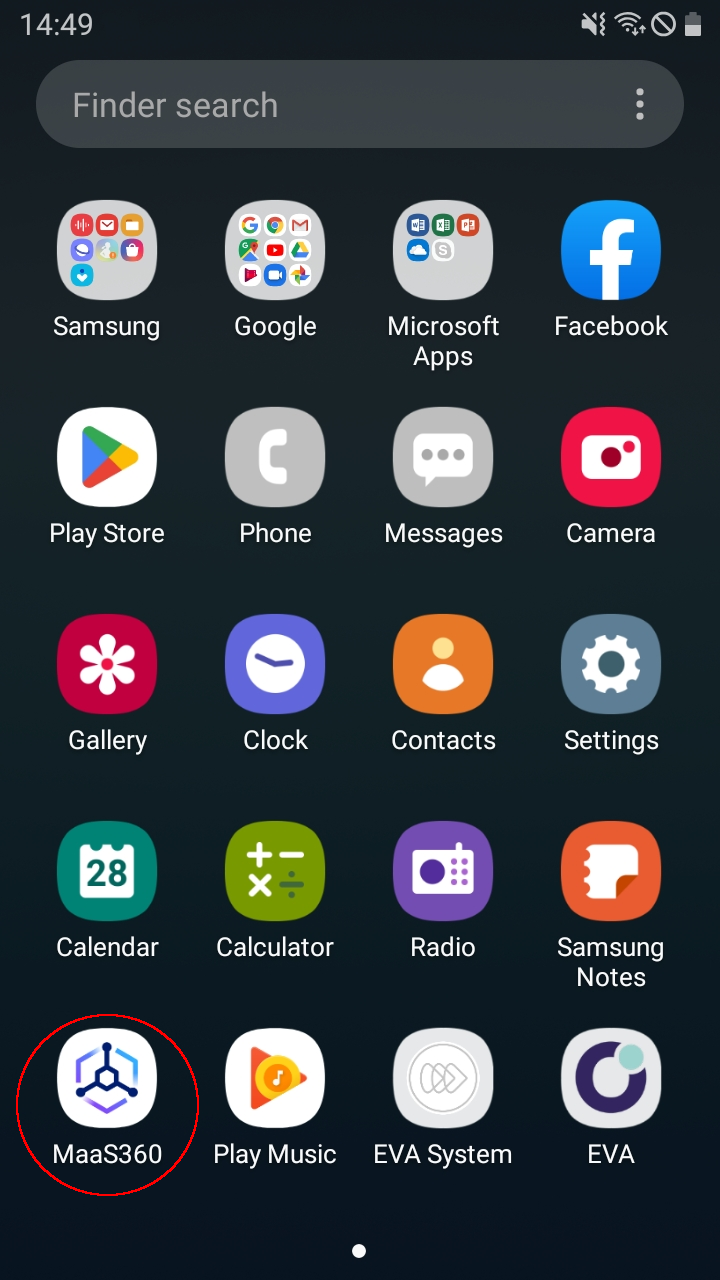
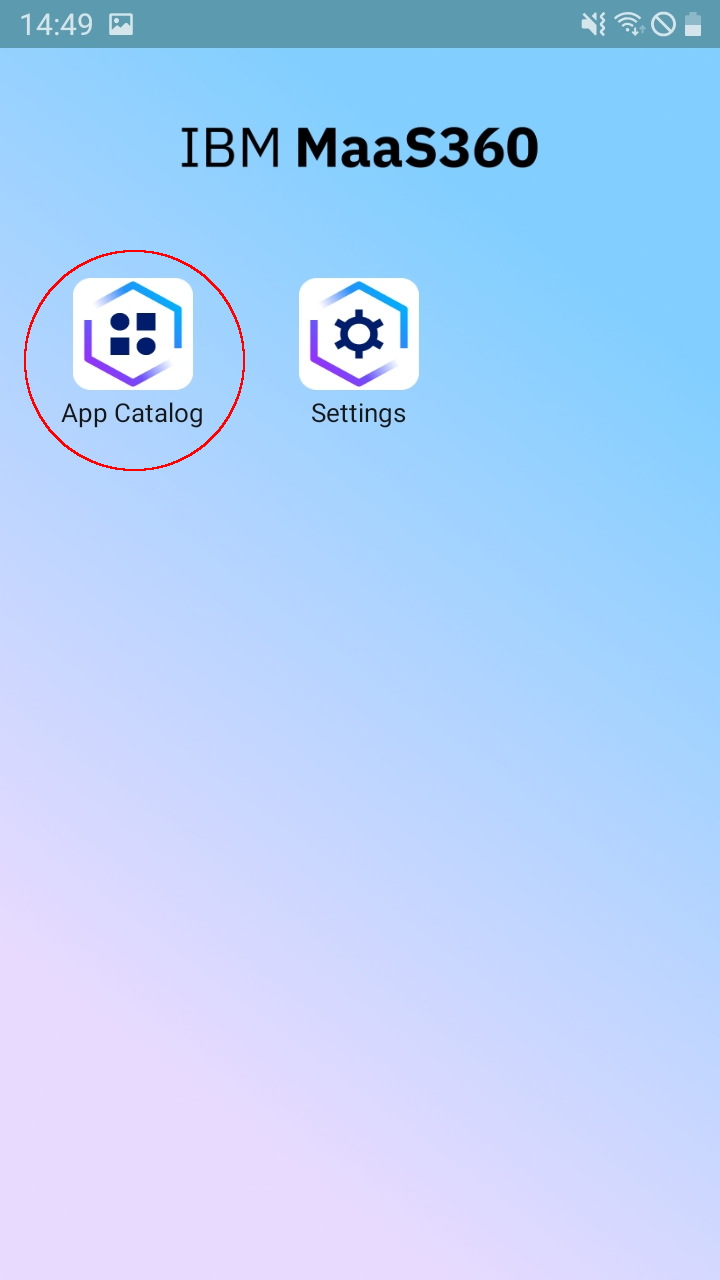
Open the MaaS360 app.
If you don't see the MaaS360 icon on the home screen, swipe up to see all apps.
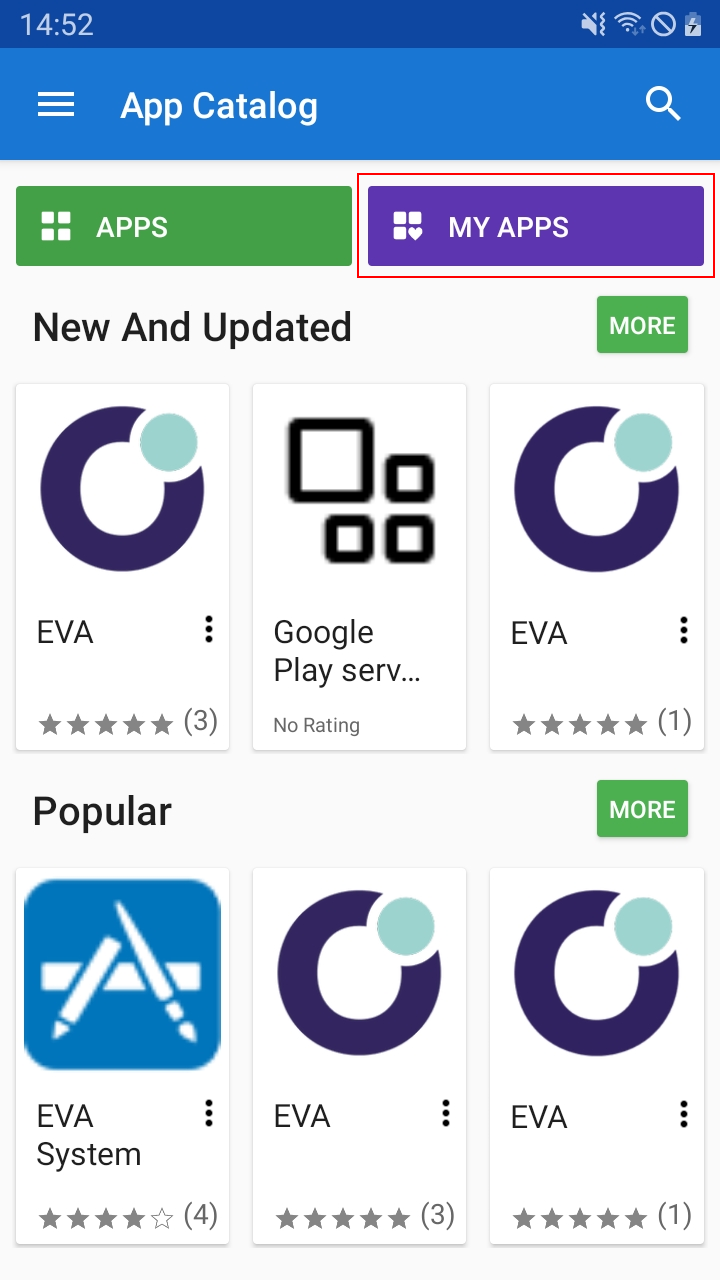
After opening the MaaS360 app, select "App Catalog" and then "MY APPS".
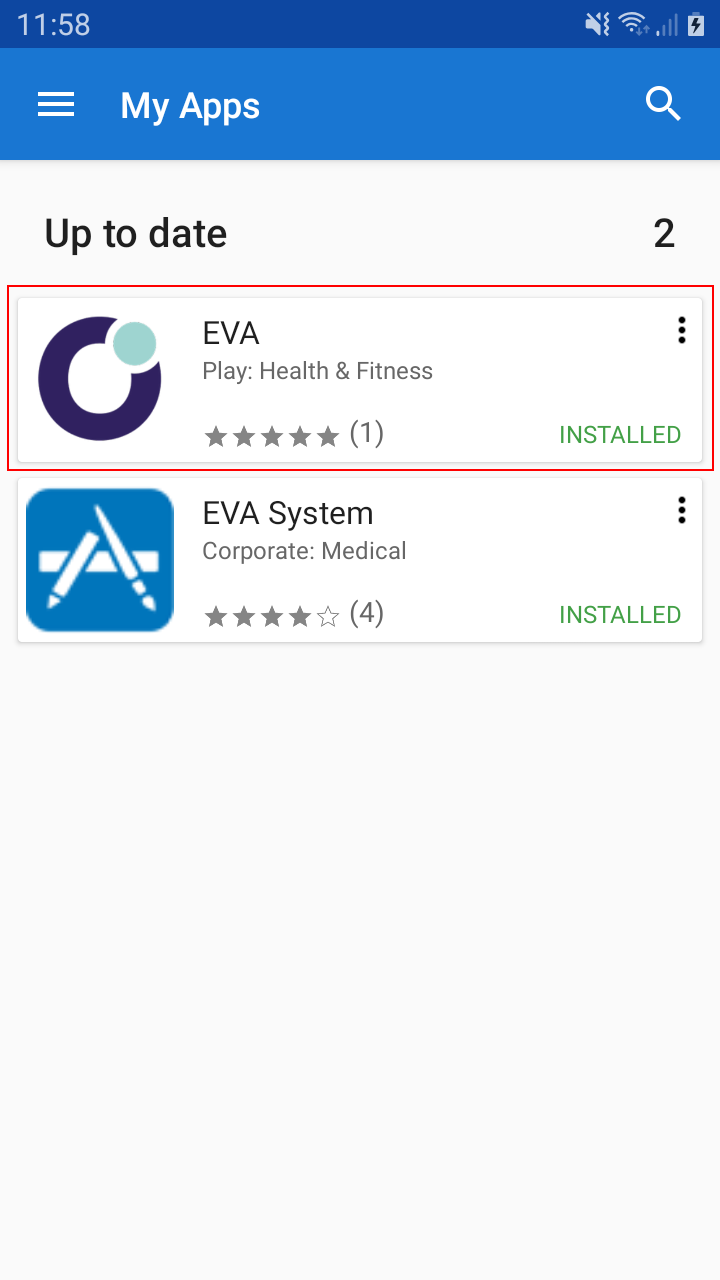
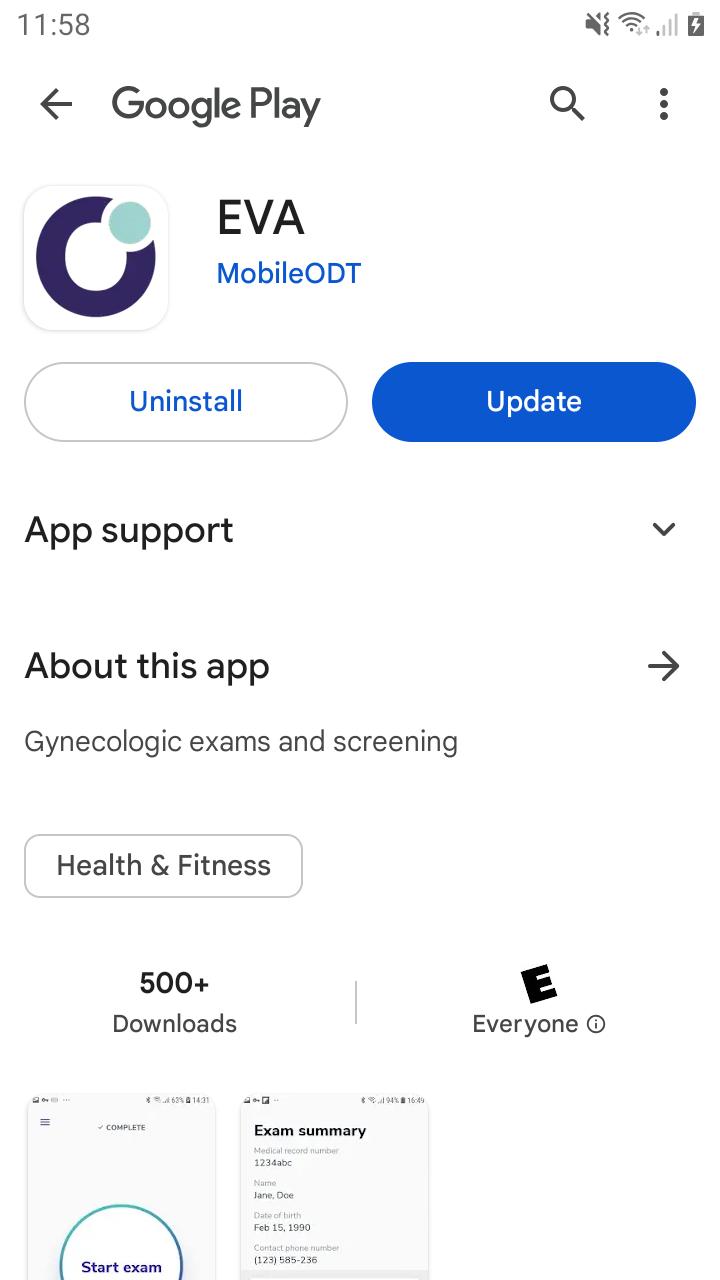
Select the EVA app and then tap the link shown below.
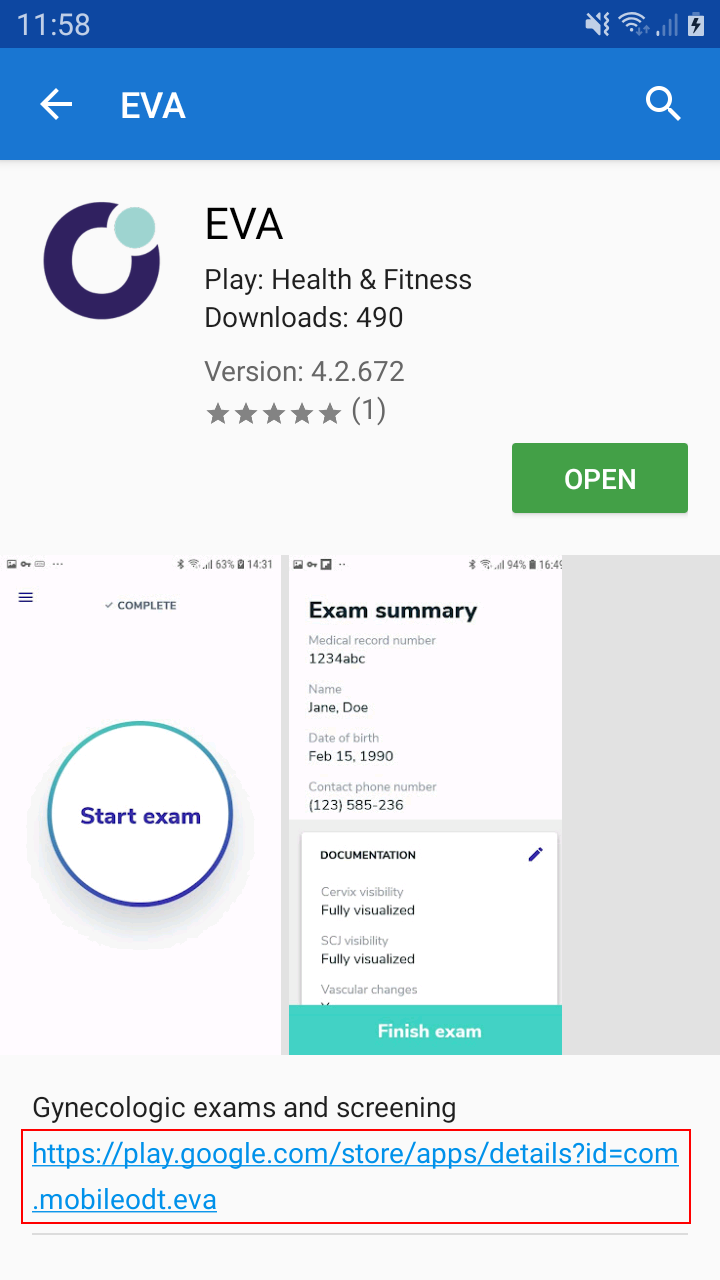
Press "Update" if available, and then press "Open" once updated.
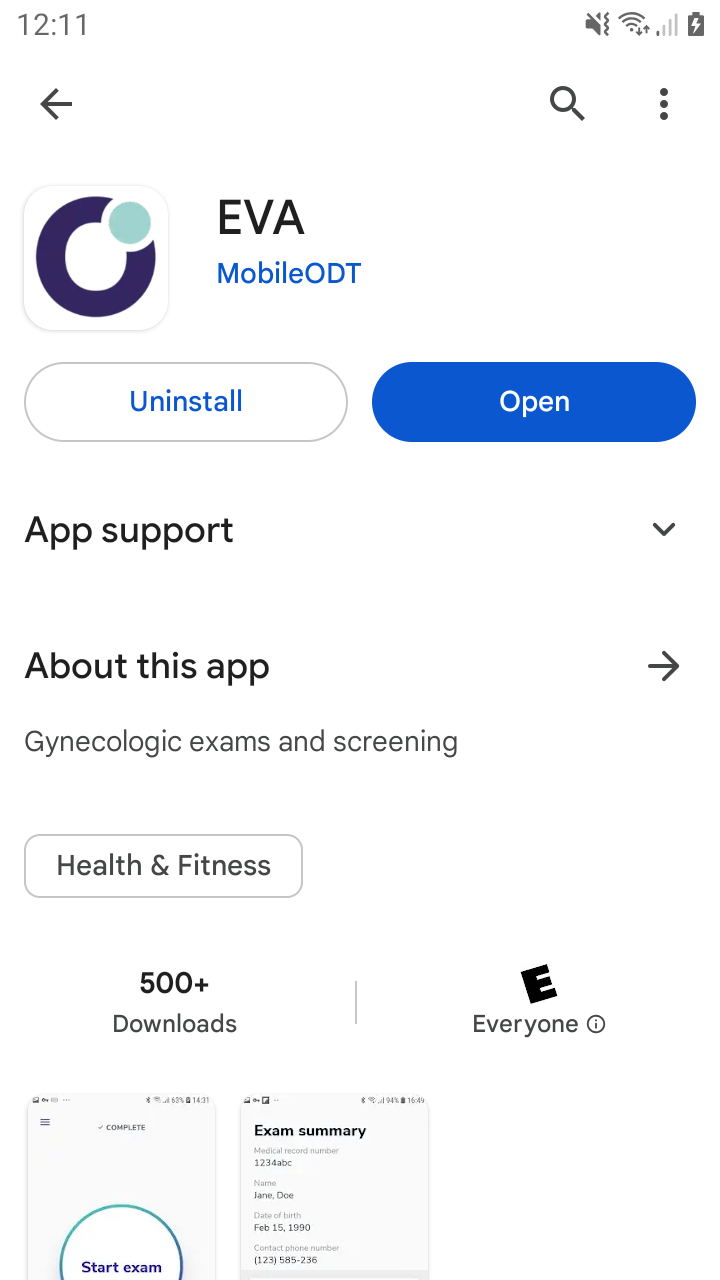
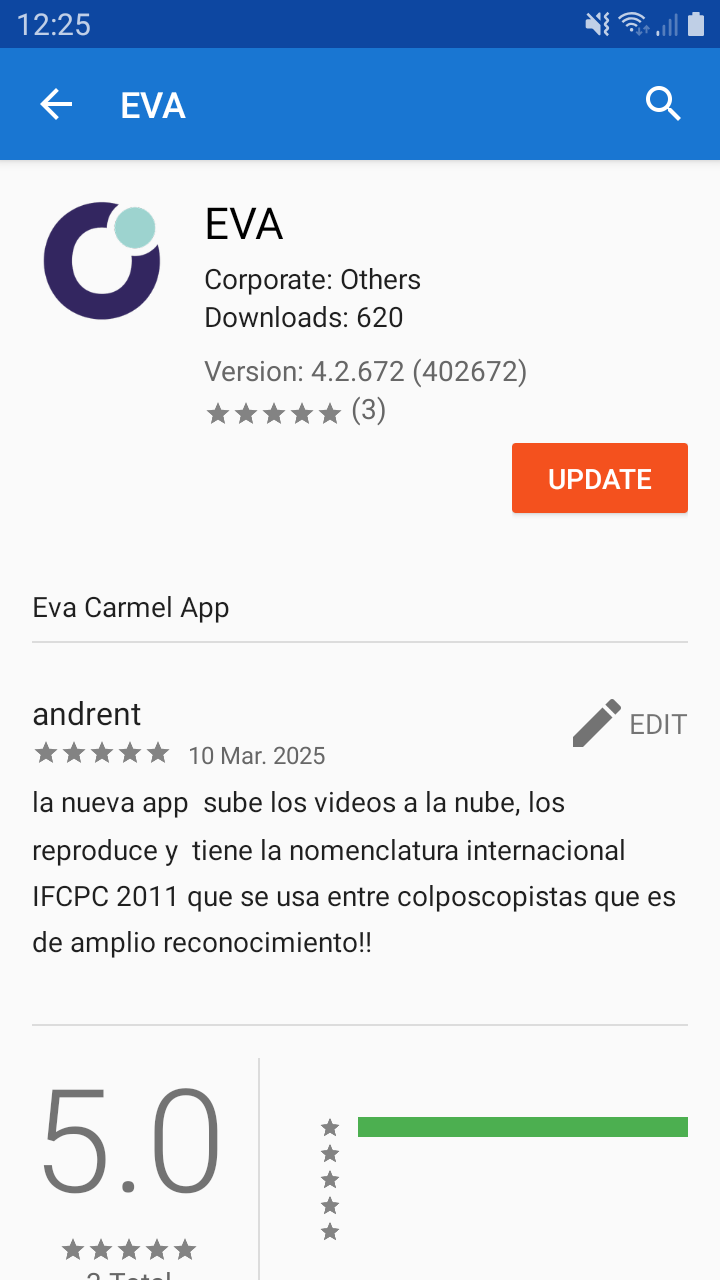
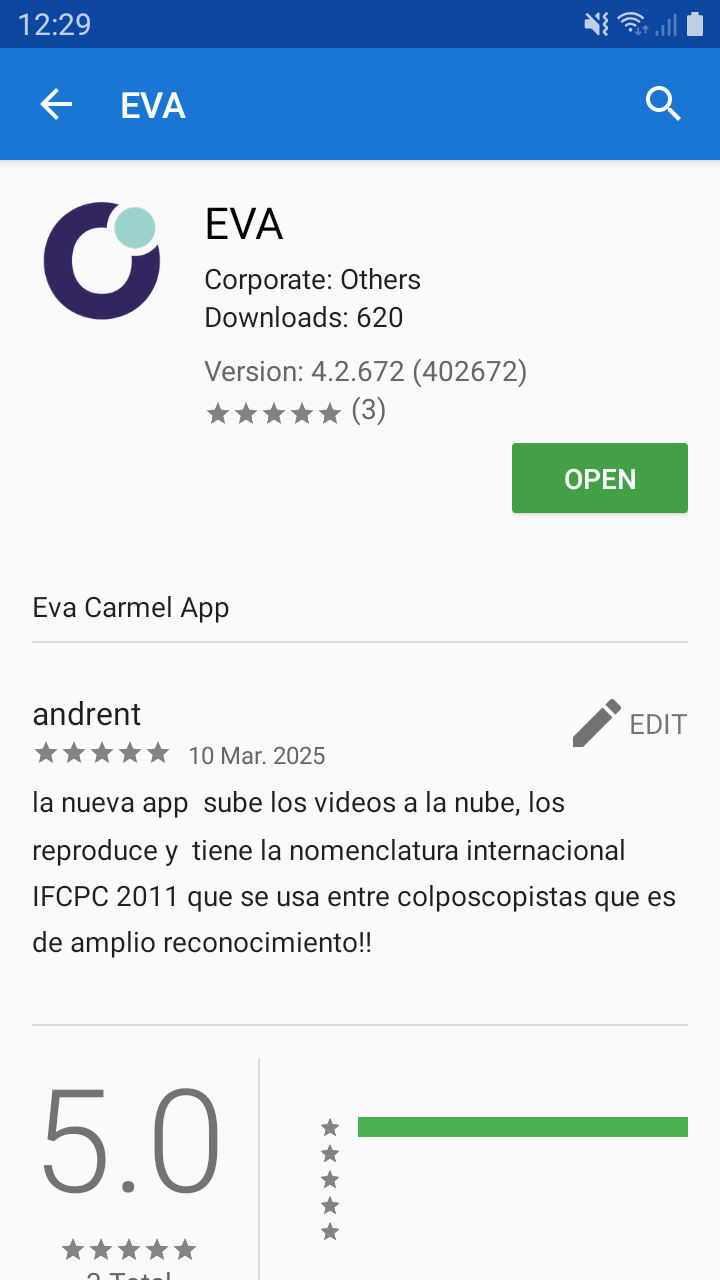
If no link was shown, press "UPDATE" and then "OPEN" once updated.
Step 3
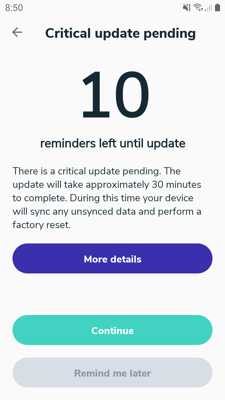
After opening the EVA app, you should see one of the screens below. Press continue.
If you do not see one of these screens, restart the device and try again.

Step 4
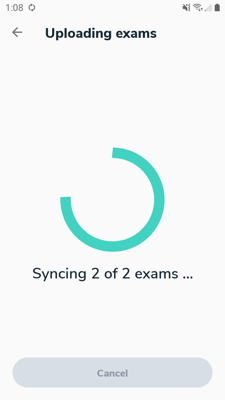
The device will sync any unsynced exams and proceed to the next step when finished.
Step 5
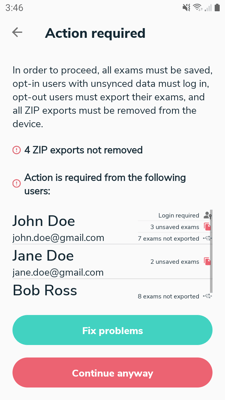
The following requirements must be met:
- All exams must be completed.
- Exams completed by opt-in users must be synced.
- Exams completed by opt-out users must be exported.
- All ZIP exports must be removed from the device.
Users may be need to log in or perform certain actions in order to proceed.
If this is the case, the following screen will be shown.
Selecting "Fix problems" will pause the migration until users are able to complete the required actions.
Selecting "Continue anyway" will continue with the migration, and the device will be ERASED.
Step 6
The device will deactivate from MaaS360 and reboot.
Important: This will trigger a factory reset, which will ERASE the device.


Note:
If the device has not rebooted after a few minutes, or if an error occurs, you may need to refresh the MaaS360 app.
Open the home screen by pressing the button shown below.

Open the MaaS360 app.
If you don't see the MaaS360 icon on the home screen, swipe up to see all apps.
 .
. 
After opening the MaaS360 app, select "Settings", and then tap the menu icon shown below. .
. 
Select "Update Device Data", and the device should reboot. Please contact support if the device still does not reboot.

Step 7
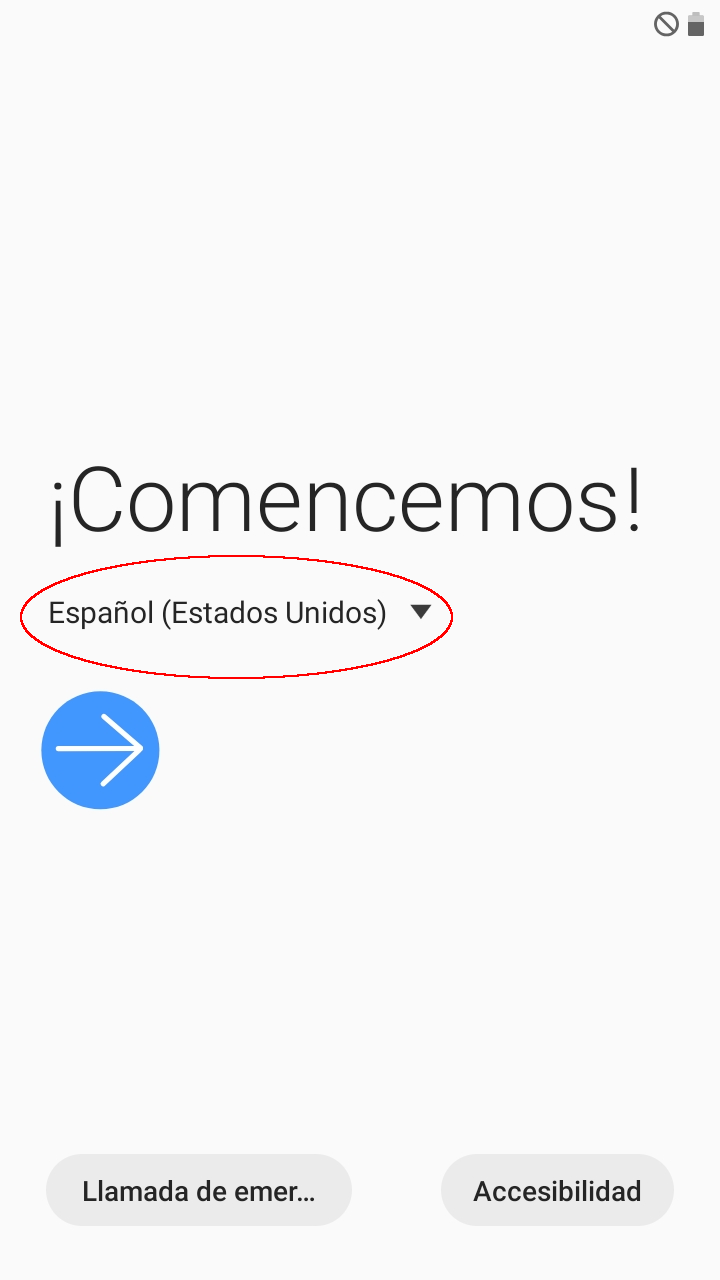
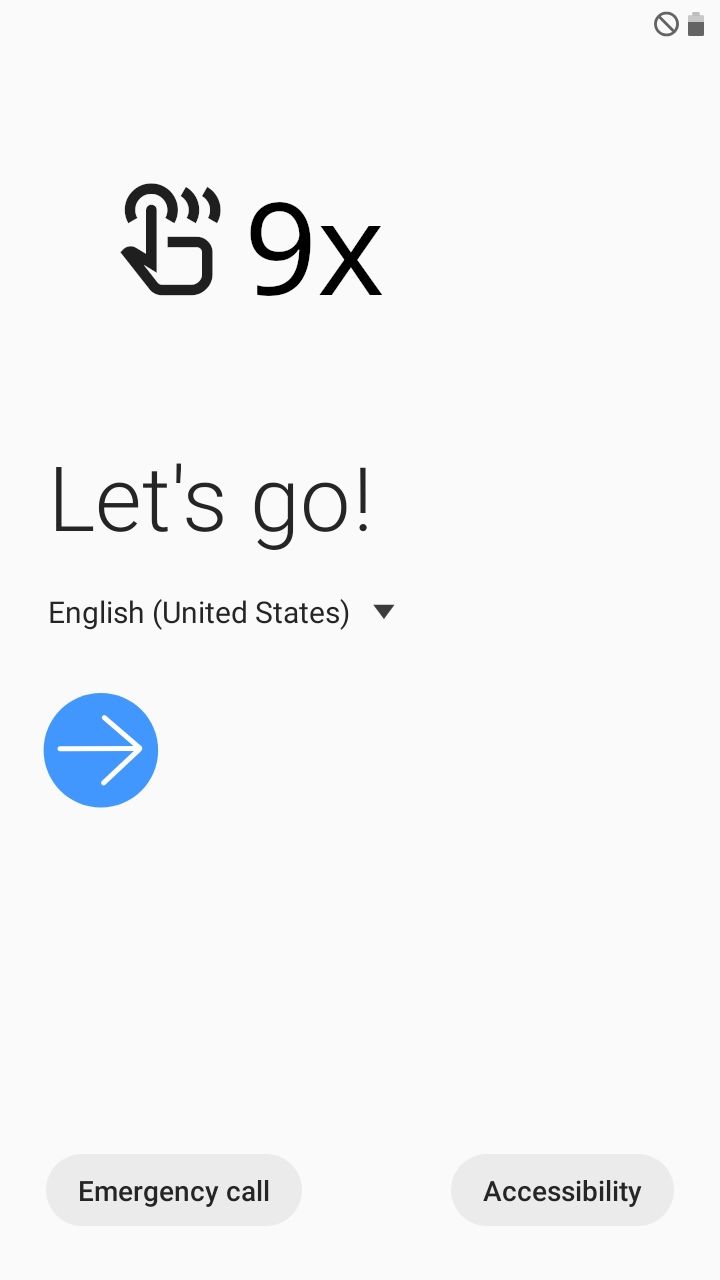
The following screen will be shown after the device has rebooted.
The language may have changed. Please select a preferred language.
Important: Do not press the blue arrow.
Step 8
Tap on the white part of the screen 9 times. A QR code scanner will appear.
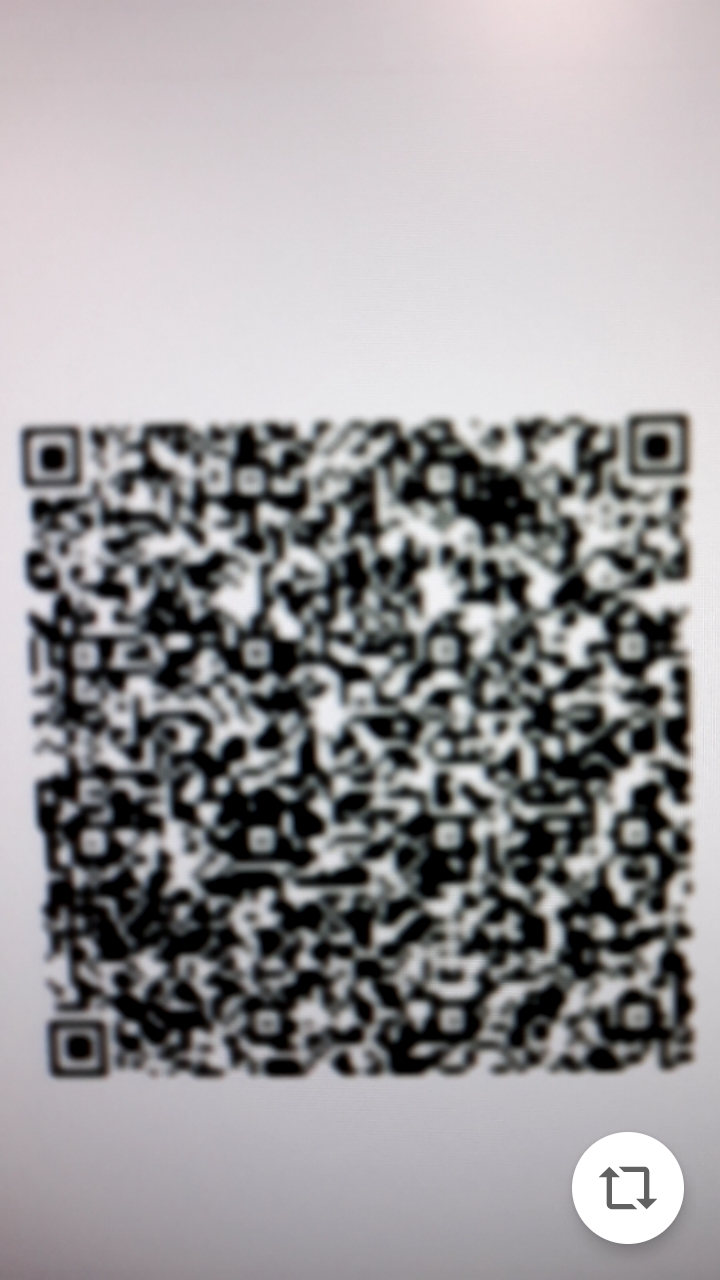
Step 9
Scan the QR code shown below.

Step 10
Connect to a Wi-Fi network and tap next.

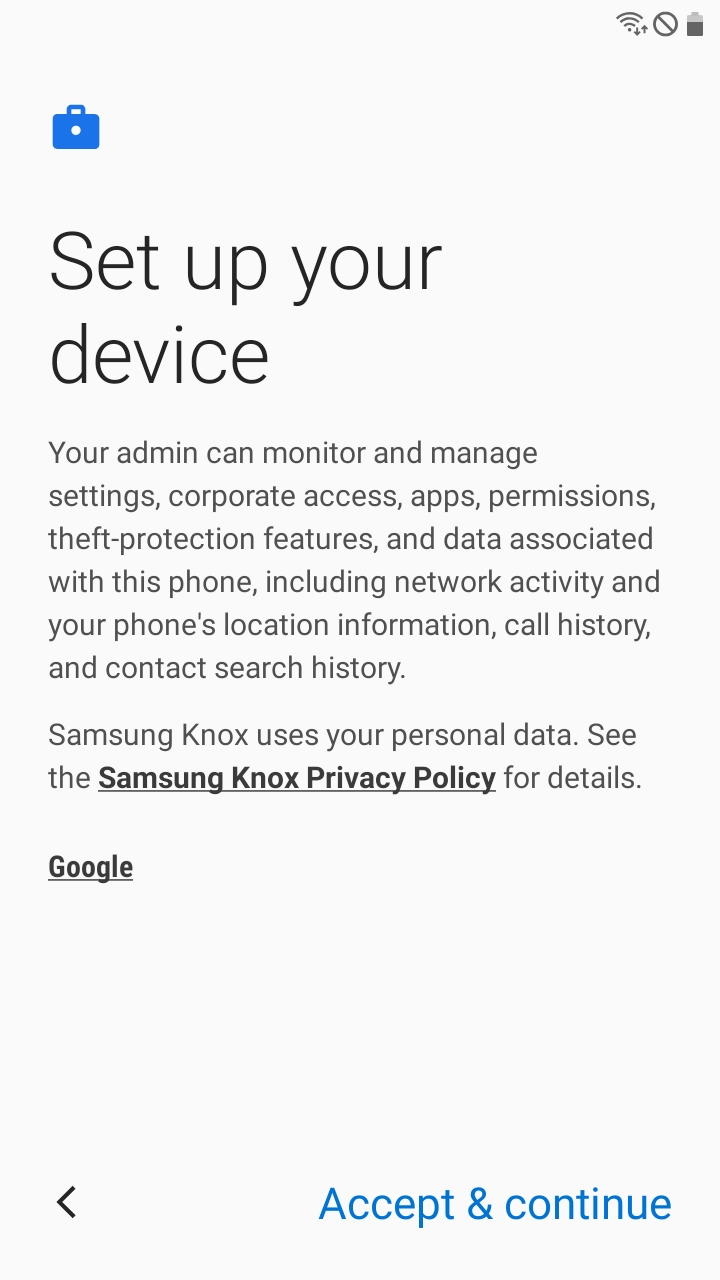
Step 11
Tap "Accept & continue". A loading screen will appear.

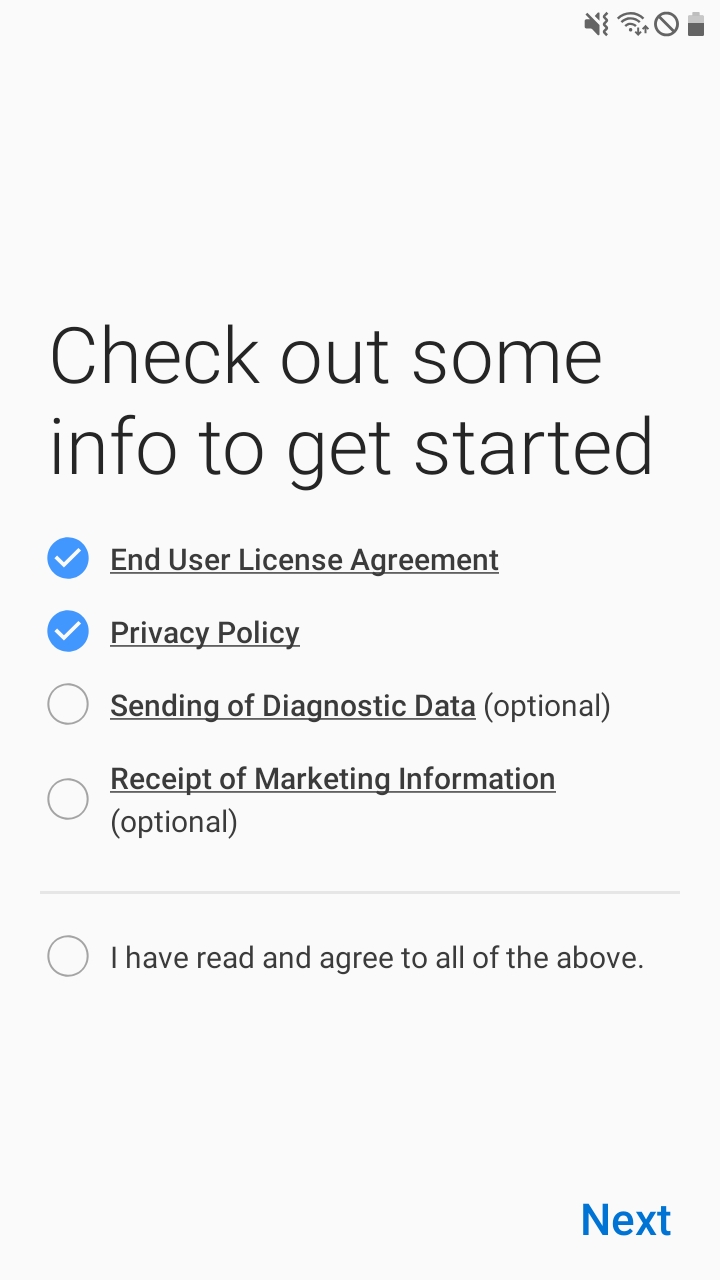
Step 12
After a few minutes, a legal screen will appear.
Select the first two options and press next. An installation screen will appear.
Important: The installation screen may appear before you are able to press next. This is normal.
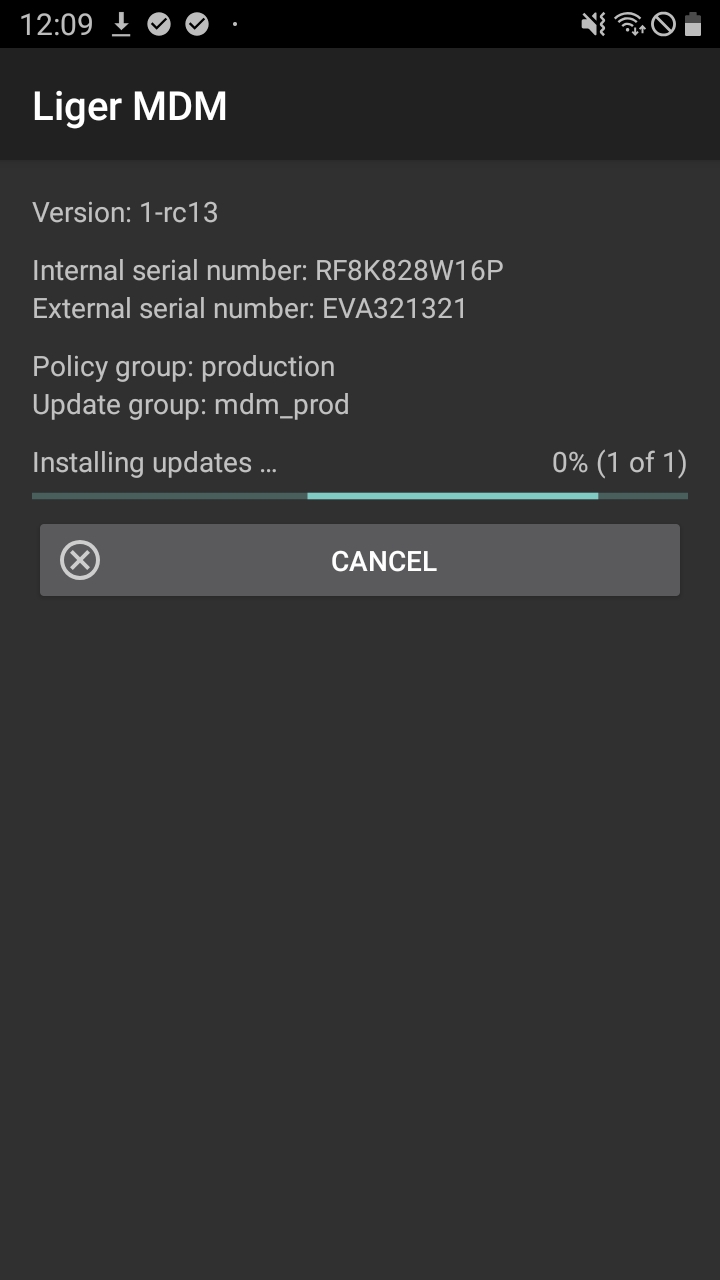
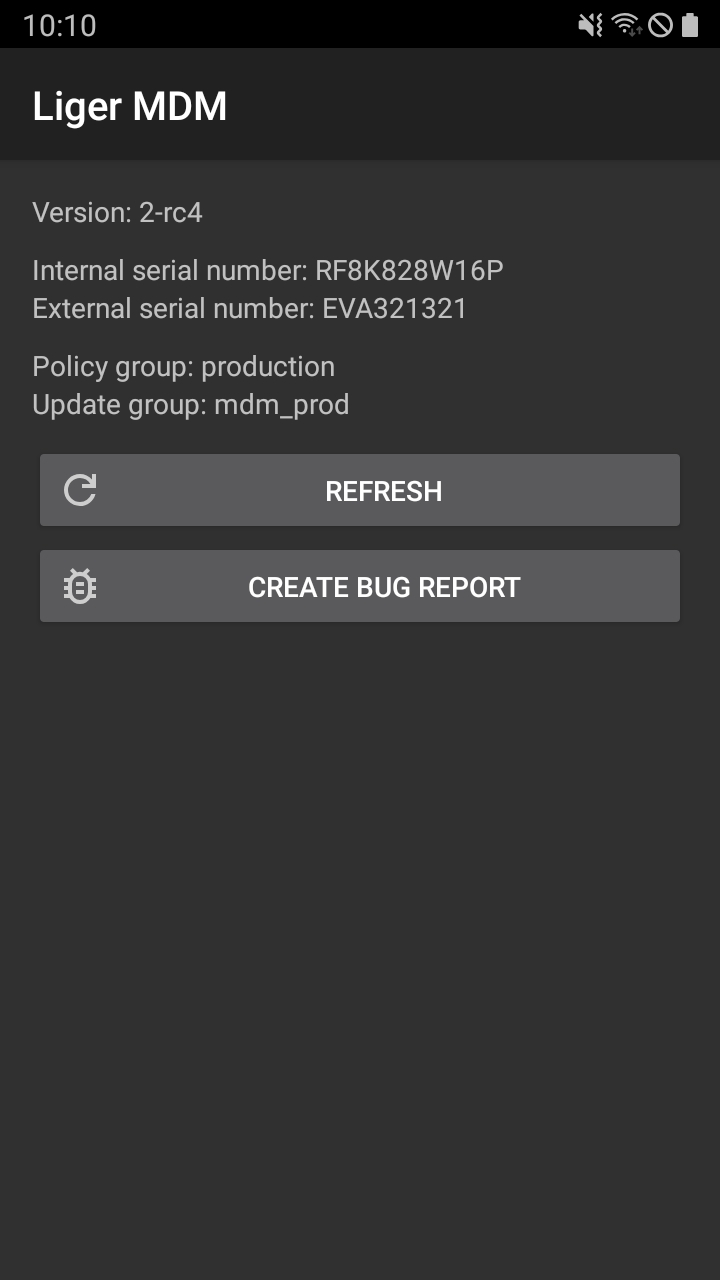
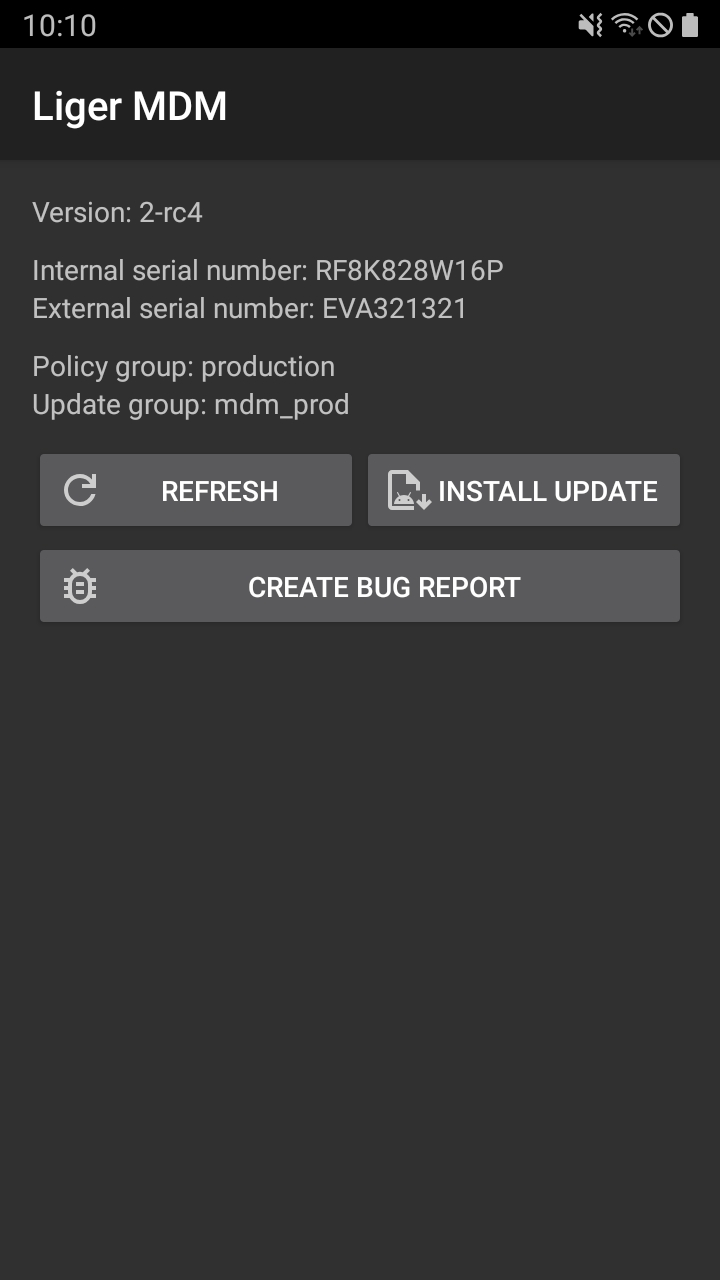
Step 13
If installation is cancelled or an error occurs, you will need to restart installation.
To restart installation, press refresh and then install update
Important: If this happens, you do not need to move on to the next step.
Step 14
When installation is completed you will see "Provisioning complete".
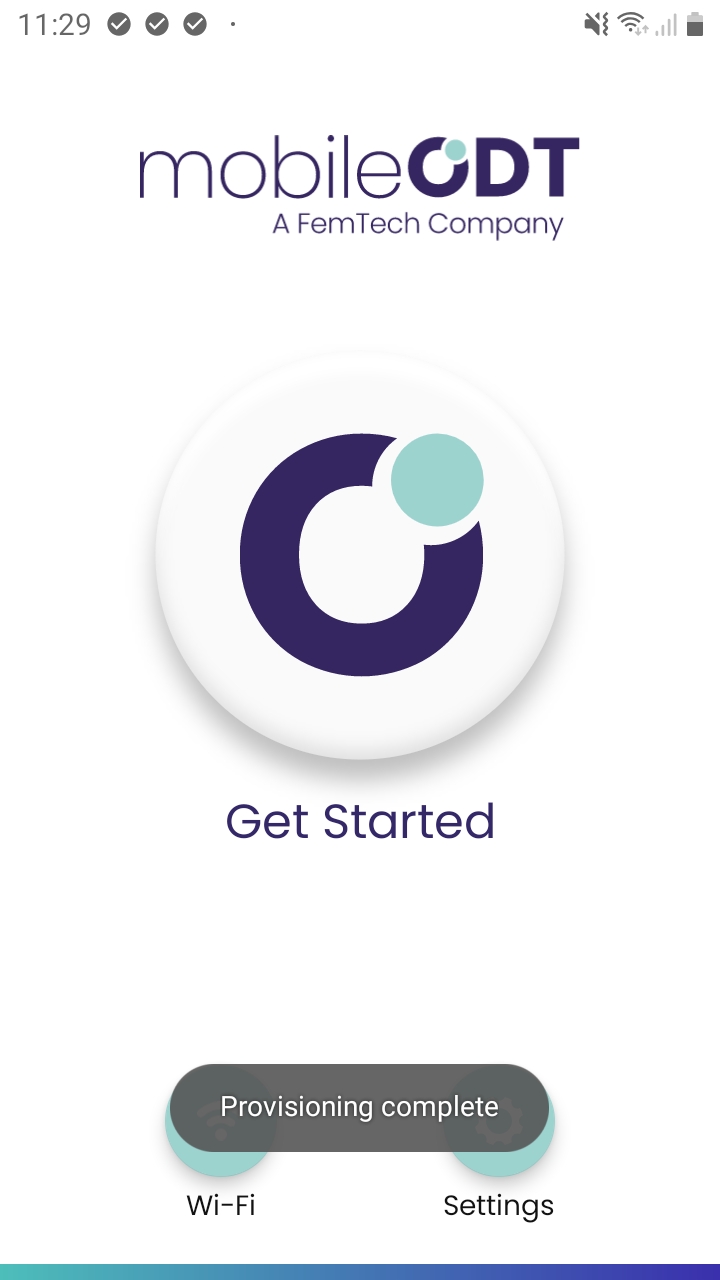
Step 15
Enter to the EVA App by taping the 'Get Started' button
.webp?width=226&height=359&name=rtaImage%20(27).webp)
In the EVA App tap ‘Log in’. Login with your User and Password.
.jpeg?width=225&height=400&name=rtaImage%20(38).jpeg)